No products in the cart.
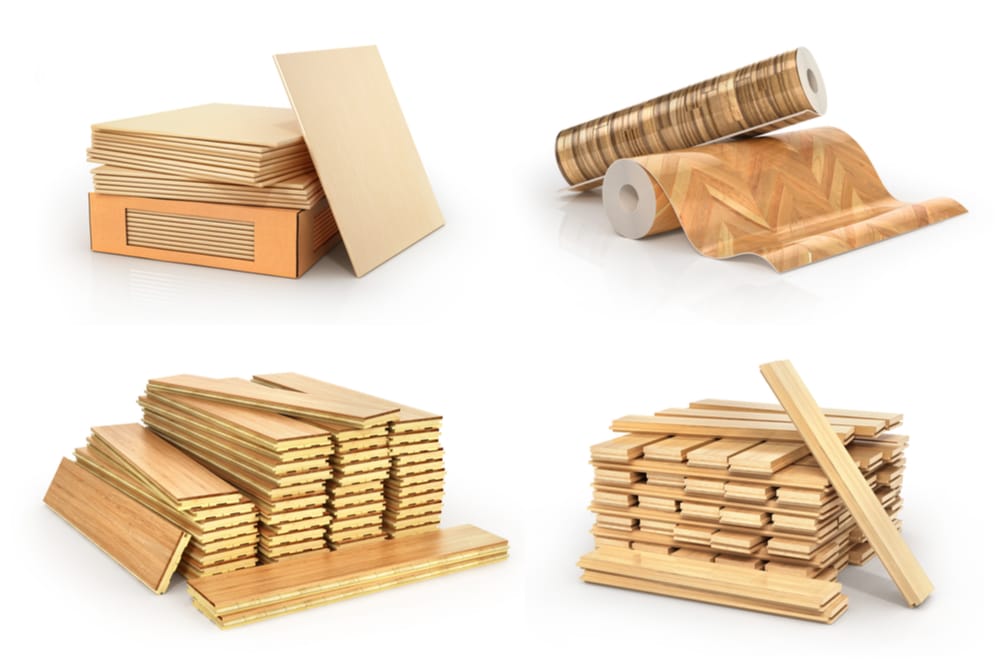
 It is nice to know that most projects using vinyl flooring materials produce successful results because plank, tile, and sheet materials are specifically made to be easily installed. They are sturdy, easy to size, and fit sleekly in a room over nearly any imperfect surface like concrete, tile, old hardwood, any other subfloors.
Plank and tile often use tongue-and-groove assembly with click-lock systems to be placed with glue, as a floating floor, or using peel-and-stick adhesive. Cutting sheet vinyl takes practical measuring know-how and a good, sharp blade with or without flooring adhesive on a subfloor.
Many do-it-yourselfers enjoy the simple puzzle-like components of using tiles and planks. A new floor can be completed quickly and efficiently for a pristine finish. Imagine getting a major home upgrade done within a weekend and being able to relish the rewards right away. That’s why they appreciate these helpful vinyl flooring products.
Preparing the subfloor is the first stage of this rewarding endeavor, and the next is ensuring you have all the right tools for the job. These may include:
It is nice to know that most projects using vinyl flooring materials produce successful results because plank, tile, and sheet materials are specifically made to be easily installed. They are sturdy, easy to size, and fit sleekly in a room over nearly any imperfect surface like concrete, tile, old hardwood, any other subfloors.
Plank and tile often use tongue-and-groove assembly with click-lock systems to be placed with glue, as a floating floor, or using peel-and-stick adhesive. Cutting sheet vinyl takes practical measuring know-how and a good, sharp blade with or without flooring adhesive on a subfloor.
Many do-it-yourselfers enjoy the simple puzzle-like components of using tiles and planks. A new floor can be completed quickly and efficiently for a pristine finish. Imagine getting a major home upgrade done within a weekend and being able to relish the rewards right away. That’s why they appreciate these helpful vinyl flooring products.
Preparing the subfloor is the first stage of this rewarding endeavor, and the next is ensuring you have all the right tools for the job. These may include:
- Measuring tape
- Extra-sharp utility knife

- Rubber mallet/hammer
- Tapping block
- Spacers
- Marker
- Level
- T-Square
- Jigsaw
- Finish molding & brad nailer
- Adhesive/glue & grout if using


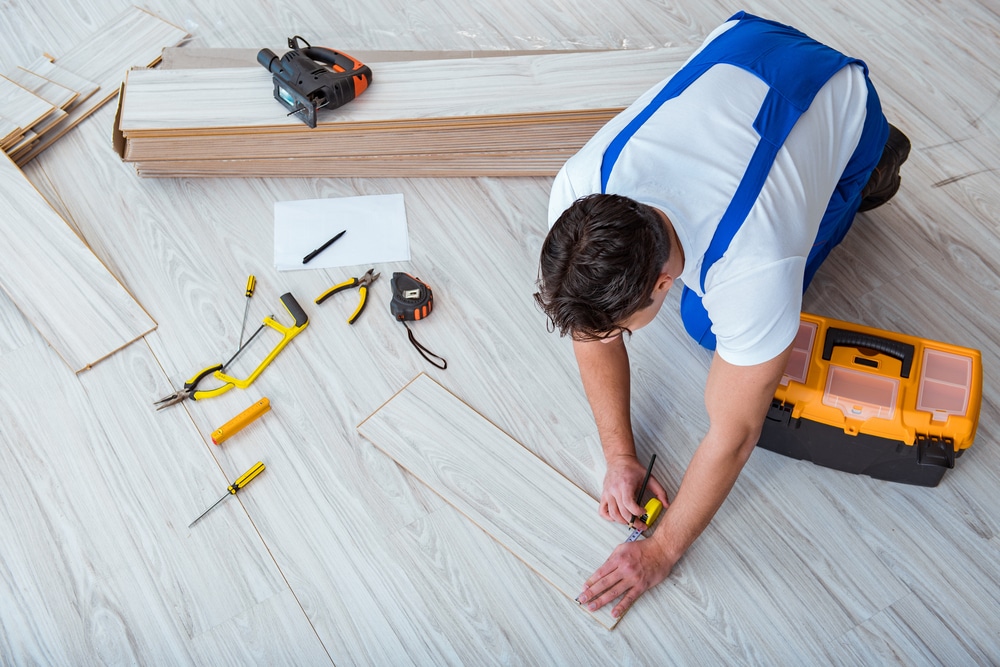

Again, depending on the vinyl product you use, you’ll have a few varying methods of sizing, cutting, lining up, and affixing. Vinyl planks and tiles can be scored and snapped when they are trimmed and sized to fit. A straight-edge ruler and sharp utility knife does an excellent job, even if it takes a few swipes to get an effective score groove to snap. Sheet vinyl may take a few swipes to get a clean cut through, as well. Straight edges and new utility blades work well.
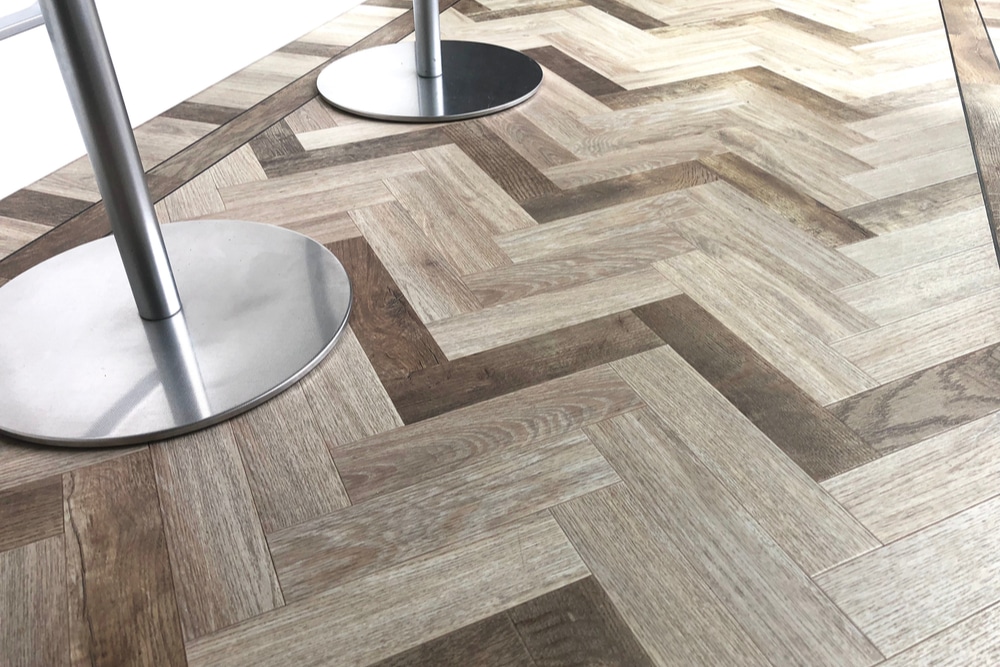
It’s a smart idea to mix up your vinyl tiles and planks from their various batches as you go, as this will better blend any color variations between cases. Simply grab one from alternating stacks or boxes as you go. Remember to use spacers to hold a ⅜-inch gap steady along walls when laying peel-and-stick or click-and-lock pieces. Then fit the tongue-and-groove or straight edges neatly together for a tight, flawless look. Those spacers can be used between pieces when you plan on placing grout between ceramic-look tiles, as well. Any grout used should have a 24-hour or more dry-time before walking on it.

The last rows of click-and-lock pieces may need help from a pry bar to place the final tiles or planks. When applying the vinyl with adhesive, roll a 100+ lb. weight over the entire floor for an extra effort toward evening-out the glue as well as helping it stick securely and permanently.
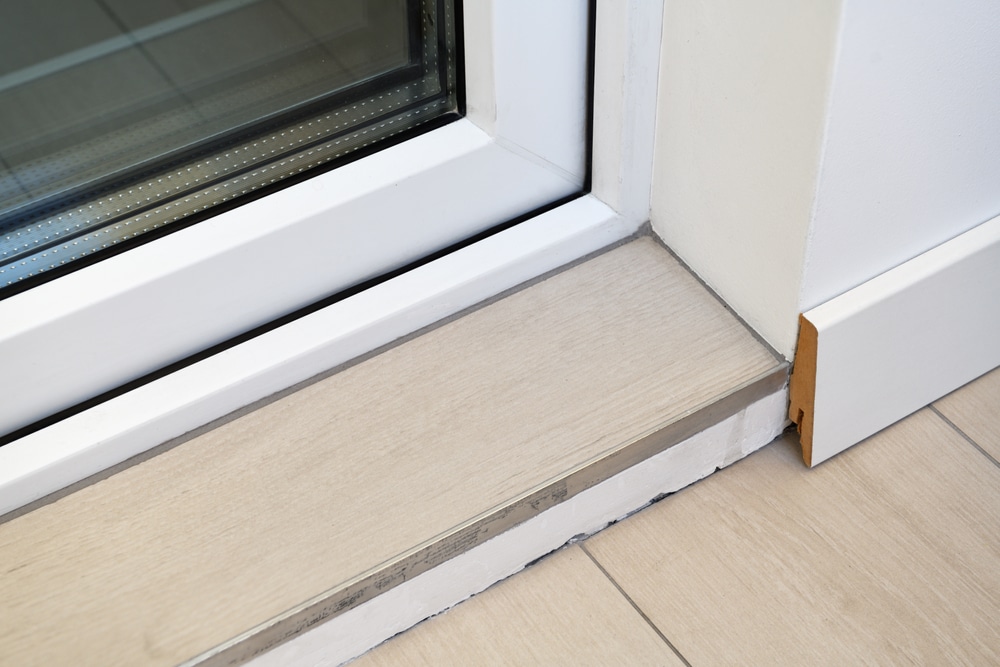
The floor looks incredible when it’s done. At this point, it only needs the finish molding and/or baseboards re-installed to complete the job. A fresh new floor gives the room, and maybe the whole home or office, a brand-new life. Enjoy that fantastic vinyl floor.